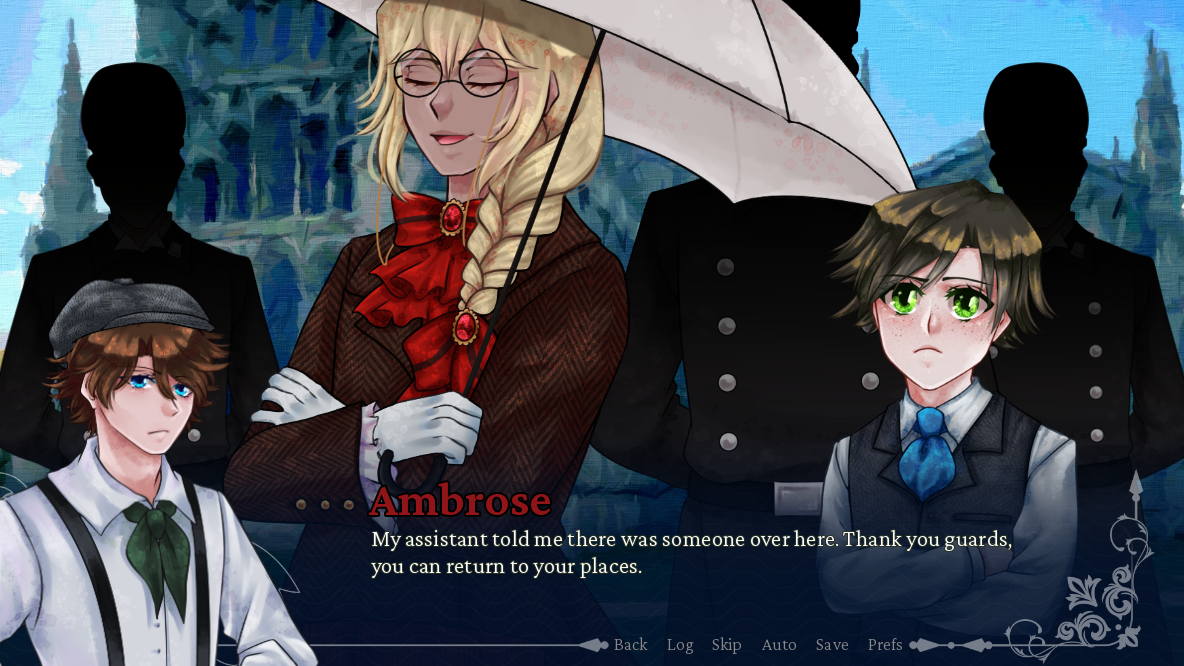
Scripting a basic visual novel in Ren’Py is rather easy nowadays, with all the tutorials and sample code available. Today I want to show some of the slightly-past-basic tricks and tips such as swapping names, adding custom transforms, and more that I’ve used while scripting Crimson Waves on the Emerald Sea in Ren’Py.
TODO
A TODO field in Ren’Py is a comment that’s scanned by Ren’Py and appears as a to do list in the launcher. To make one, all you do is:
# TODO water splashIn order to see your to do list, open the Ren’Py launcher and select your project. Under the “Actions” section, click the first button, Navigate Script.

The launcher will then run through the script real quick. When it’s done, it’ll display different useful aspects of your project. On the far right is your to do list!

As you can see, I mostly use TODOs to remind myself what sound effects, ambience, or mood I want for a scene.
P.S. You can change the background image of the Ren’Py launcher! This is the (unused) default BG which can be turned back on by:
- open the Ren’Py launcher folder and going to the theme folder
- make sure theme_background.jpg is in the theme folder (if not, search around for it)
- open the theme.rpy
- make sure line 22 is uncommented out
Name Changes
A very simple coding trick we’ll look at first is how to change a character’s displayed name! At the start of the story, Nemo is referred to as “Young Man”, as he’s not introduced himself to Cecil yet.

First, I declare a variable (called “nemoname” for ease). I set it to “Nemo” so if I jump to a later part in the story I don’t have to worry about his name displaying as “Young Man”.
default nemoname = "Nemo"Then, instead of typing his name as “Nemo” when defining his character tag, I put the variable (make sure there’s [] around it!).
define n = Character("[nemoname]", color="#7bdaed", image="nemo")After the story starts, I set the variable to “Young Man”.
$ nemoname = "Young Man"Naturally, once he introduces himself, I change the variable to his actual name.
$ nemoname = "Nemo"

n talk "The name's Nemo. If you want, we can travel to Lauremburg together."
I also use this trick for a husband and wife you meet later on! This is also part of the code for letting the user enter their own character name (though you’ll need a custom input field for that).
Custom Placements
Ren’Py offers 3 main default placements for easily placing sprites on the screen- center, left, and right. For CWES, I didn’t shrink most of the sprites so that they wouldn’t be as grainy when zoomed in. Because of this, the default placements didn’t quite work well. However, you can easily redefine them!
transform center:
    xalign 0.5
    yalign 0.1

transform left:
    xalign -0.7
    yalign 0.1

transform right:
    xalign 1.8
    yalign 0.1
This is me overwriting the default placements, but we can easily make more. In some of my projects, I’ll make something like a “closeleft” or “closeright” that looks like this:
transform closeright:
    xalign 0.95
    zoom 1.3
    yalign 0.4

transform closeleft:
    xalign 0.05
    zoom 1.3
    yalign 0.4
These custom placements make it easy to put sprites in the same spots multiple times!
Custom Fades
Ren’Py offers plenty of default transitions for images and scenes that are great, but custom transitions are even better. There’s several ways you can go about making a custom transition, so here’s a few of them I used in CWES.
The first is editing a regular fade transition. Here’s two examples of this. The first one, “light”, is a brief flash of off-white on the screen. The second, “fadee”, is a slightly longer fade transition.
define light = Fade(1.0, 0.3, 0.6, color="#fff3c9")
define fadee = Fade(1.0, 1.0, 1.0, color="#000")
Another technique for making custom transitions is making an ImageDissolve. This involves making a black and white jpg with how you want the dissolve to look like. The dissolve for the chapter embellishment is done with an ImageDissolve, for example. Here is an example of a side swipe- the jpg is a simple white to black horizontal gradient.
define sideswipee = ImageDissolve("sideswipeimg.jpg", 0.5)One more way to make a custom transition in Ren’Py is called MultipleTransition, where you combine several transitions at once. This is great to use to turn ImageDissolves into fades!
Going from the previous ImageDissolve, I turned it into a fade using the MultipleTransition. This is the actual side swipe transition I use in game.
define sideswipe = MultipleTransition([
    False, sideswipee,
    "#000", sideswipee,
    True])
What this MultipleTransition does is play the side swipe ImageDissolve to a pure black screen and then uses the side swipe ImageDissolve to transition to the next scene or image. For the most part, if you just want to turn an ImageDissolve into a fade (i.e. your custom dissolve goes to black and the dissolves to the new image), you just replace the “sideswipee” here.
Making custom transitions isn’t too difficult once you wrap your head around it and look cool in game!
— Arimia


