Hey guys! I’m NiAsobu and did most of the lines for the backgrounds in Enamored Risks. It’s the first time I was able to work on such a big team and leave the coloring to other talented artists, to make it in time for the deadline.
So here’s how I work on backgrounds: The first example is the MC’s bedroom and the second is the classroom, for which I worked in 3D.
Process for MC’s Room
Searching for references -> Moodboards
To get an idea on how the room could look, this has been the most helpful to me. The moodboard is also an easy way for me to check with the writer / project lead, if I understood their directions right. Sometimes it’s also helpful during the sketch phase and later phases to go back to the moodboard and then change a detail to something we see on the moodboard.
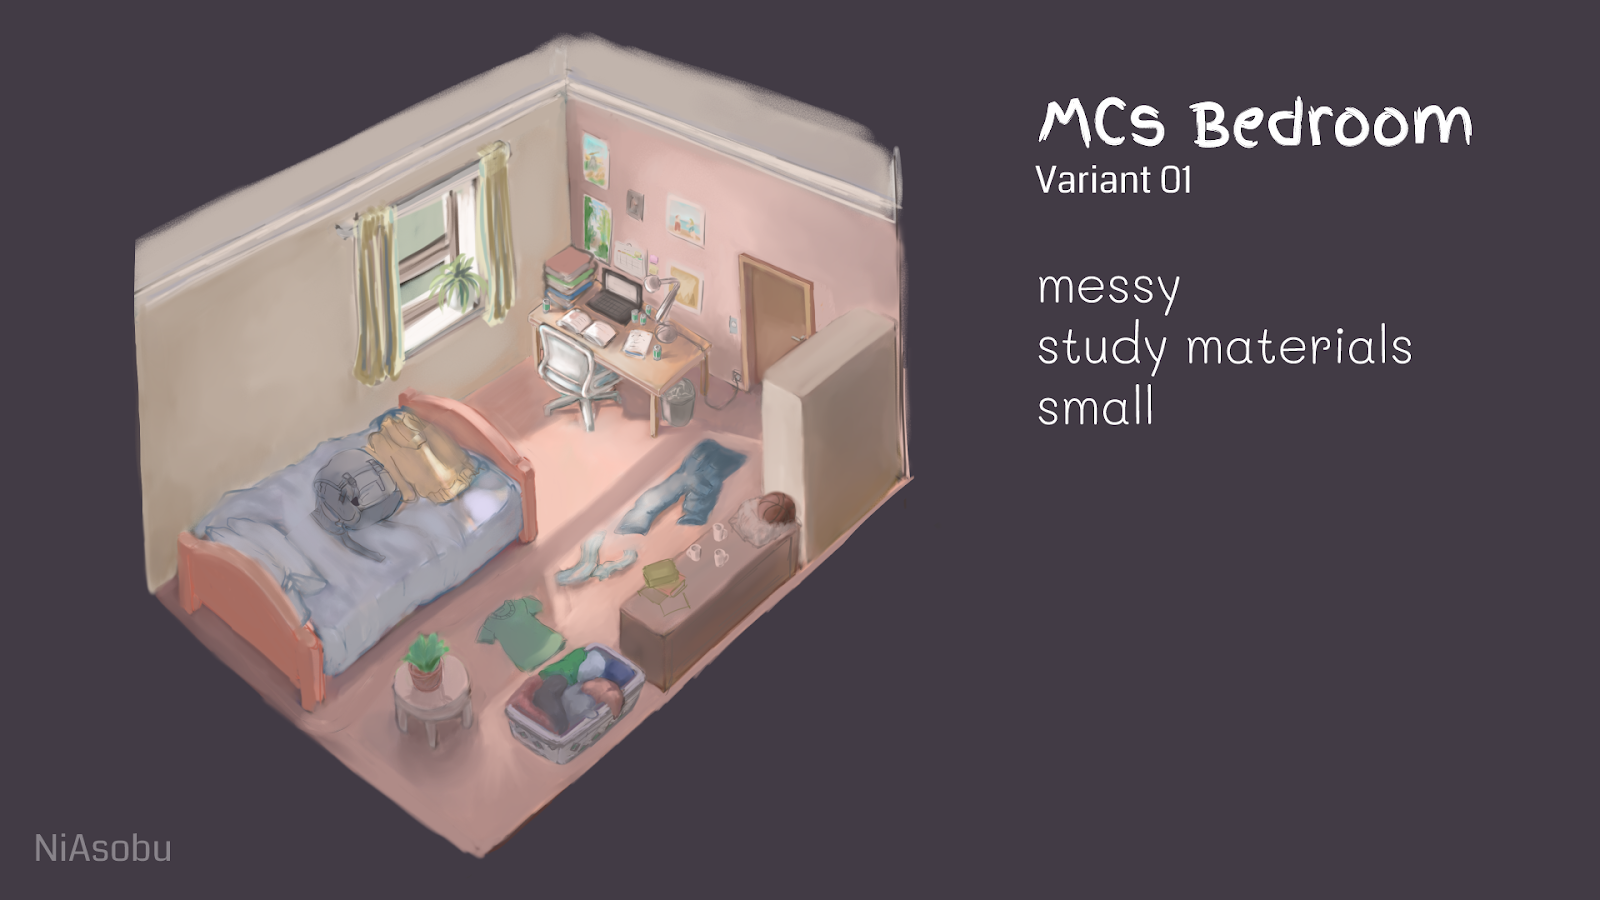
Moodboards -> Orthographic Concept Art
Example of the orthographic view. Changes from this can naturally occur in any of the next stages, as we’re constantly adjusting every element of the game to better fit the whole game.
The orthographic view gives you an overview of the scene. Objects can be more easily moved around for adjustments. Even camera placement (from where the scene is looked at in the final BG) can be better discussed like this. In this phase I also don’t have to worry too much about perspective.
Orthographic Concept Art -> Sketching
Then I move on to sketching. It’s important to keep character sprite and textbox size in mind. Anything important on the BG shouldn’t be hidden by the textbox. And the size of the room should be relative to a human and according to that, also to the height of the character sprite. I put the horizon mostly between the eye-level of the tallest and shortest character sprite, so that it looks kind of okay with every character.
Sketching-> Lining
I use Clip Studio Paint, which has an convenient perspective tool, which functions like a digital ruler. Straight lines are easier with it, but I also construct the placement and size of most object with it. Meaning I draw a simple cube first with it and place the object in it. Details also makes the difference between a simple cube and a room which is truly lived in.
If time allows it, I usually line every object on a different layer and put a white silhouette in the shape of the object behind the line, so that it covers all the lines of other things behind the object. It can also be used to more easily color the object.
And this is what I gave to the coloring artists!
Process for the Classroom
Working in 3D
The process before 3D is pretty much the same, I make a moodboard and an orthographic view, if time allows it. One important decision we made with this background was to make the room base be the same for the classroom and the chemistry classroom. This allows to be more efficient. But it also means that the base has to work with both versions.
Why 3D for this background?
I use Blender as it is free and has a huge community which is able to answer all my questions. I recommend 3D as a base to save time. Especially for backgrounds with many copies of one object. Meaning backgrounds with many chairs and tables are perfect for it. So taking a bit more time for one 3D-Object, will save you time for all the other copies of it.
Using simple blocks to determine the composition and the placement of furniture.
Test with character sprites and text box to see if the angle fits.
Adjusting the camera
Replacing boxes with the modeled table
Replacing boxes with the modeled chair
Modeling the board and the door and adjusting room height
Using the perspective tool in Clip Studio Paint and tracing over my own 3D-model. I didn’t have time to make the white silhouette, so it might have been confusing for the colorist of this BG.
Similar process for the chemistry classroom
I hope this was an interesting read for you and answered some of your questions about backgrounds! Have fun playing our game! We put a lot of effort and love in it.
If you want to see more of my artistic journey:
Twitter: https://twitter.com/NiAsobu
– NiAsobu


Wow this is really insightful! I didn’t know there were many steps but it makes a lot of sense. I’ve always found backgrounds challenging but I like how you break it up into the different phases. So thanks for sharing!!