As a little break from our typical devlogs, for the midway devlog of the month I wanted to show off something different—namely, making merch!
This weekend I took a break to make some stickers for our merch shop and get more used to handmaking stickers. It’s not a long process but it is a bit finicky sometimes…
To start off with, my main tools are my inkjet printer, a Silhouette Cameo, inkjet sticker paper, and a pair of craft tweezers. I have 2 kinds of paper- glossy and matte. I like to use the glossy paper for standalone, bigger stickers (2 inches and bigger) and the matte paper for sticker sheets.
The first step is to lay out the stickers in the Silhouette software and print it out on the sticker paper.

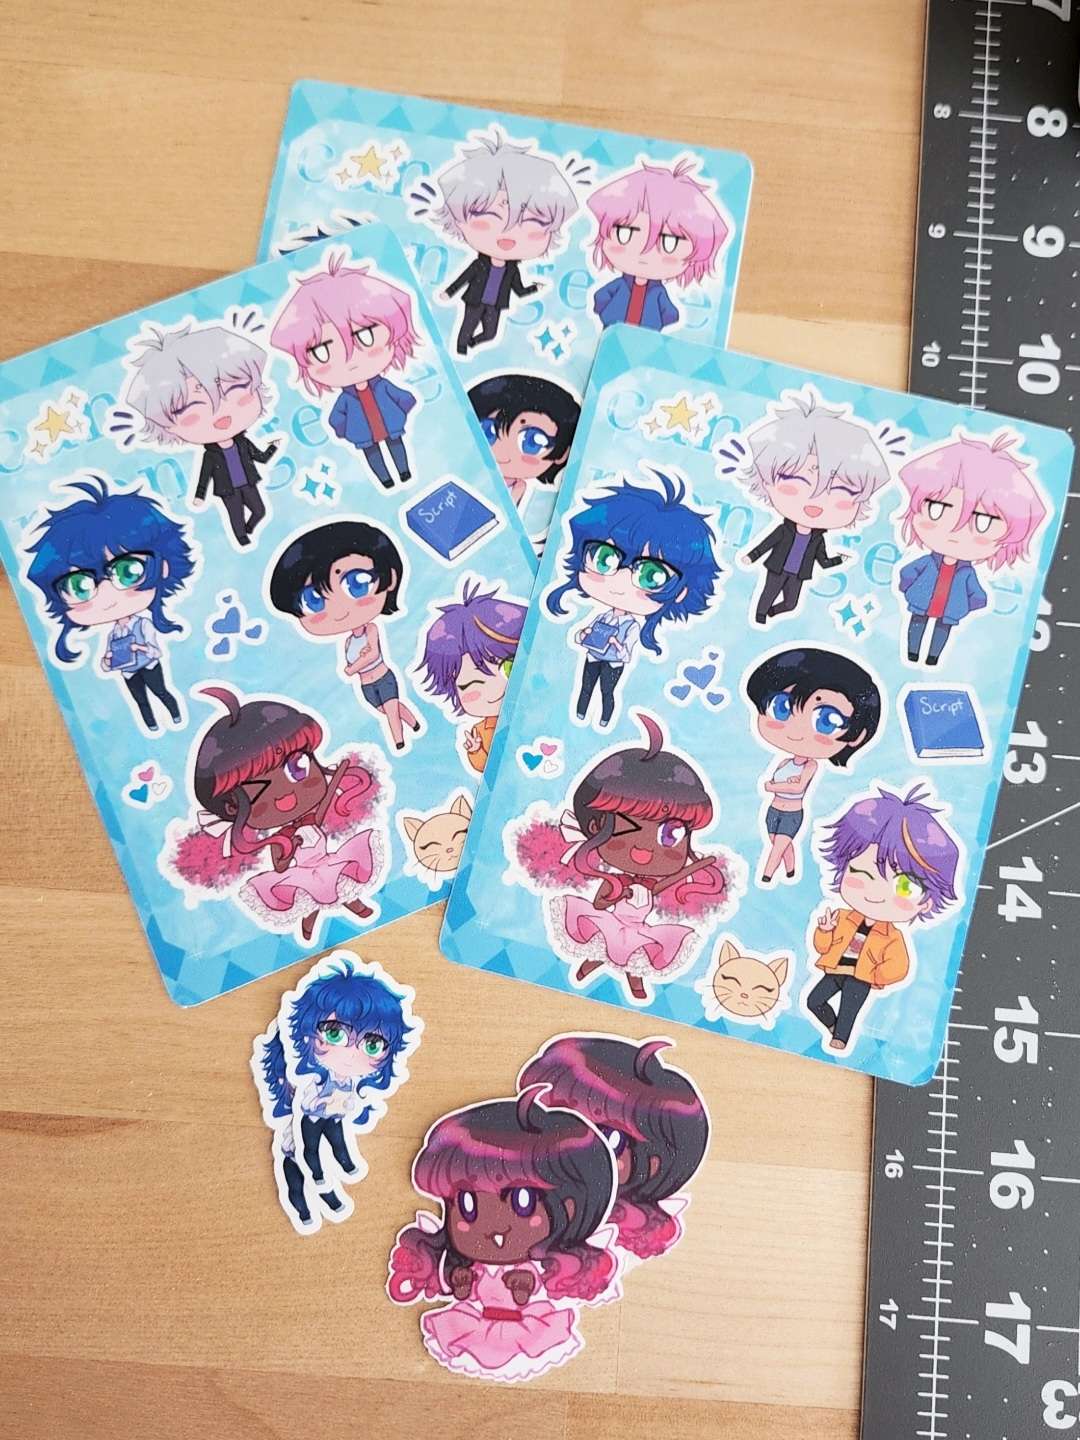
Every part of the paper is sticker paper, so I want to use as much as I can while leaving enough room for the cut lines. For this matte sticker paper I did 3 Canvas Menagerie sticker sheets as well as some extra small stickers of Niko and Angel.
The black marks you see in the corners are the marks the Silhouette uses to determine where to cut- it’s important to leave room around these marks so it knows where it is.
What happens when it can’t accurately read those marks? Well….

You end up with a complete mess. You can see the cuts are accurate but not in the right places- Niko’s sticker has his outline but it just a little off meanwhile Angel’s stickers are completely off.
So what does a successful cut look like? Like this!

After you remove the excess sticker paper, you’re left with the stickers (if you went for a die-cut / full cut like I did). The mat it’s on is sticky though so you have to be careful peeling them off or you might rip them.
Here’s me pulling off some die-cut glossy stickers from the cutting mat.
And after that you have stickers!!

Making them by hand is fun but prone to a lot of errors, like the sheets not printing correctly or the machine not cutting correctly and such. Still, it’s pretty fun to try!
Each of these are now available on our store as part of a mini update.
— Arimia


